画像1/1: ‘A diagram showing how "git add" registers changes in the staging area, while "git commit" moves changes from the staging area to the repository’
図の2
画像1/1: ‘A diagram showing two documents being separately staged using git add, before being combined into one commit using git commit’
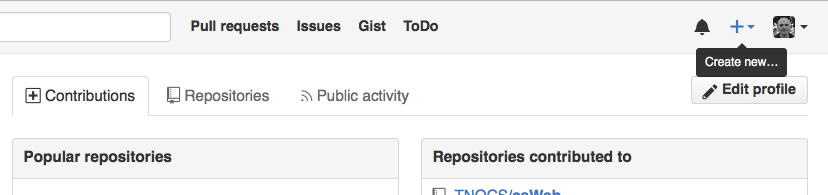
画像1/1: ‘The first step in creating a repository on GitHub: clicking the "create new" button’
図の2
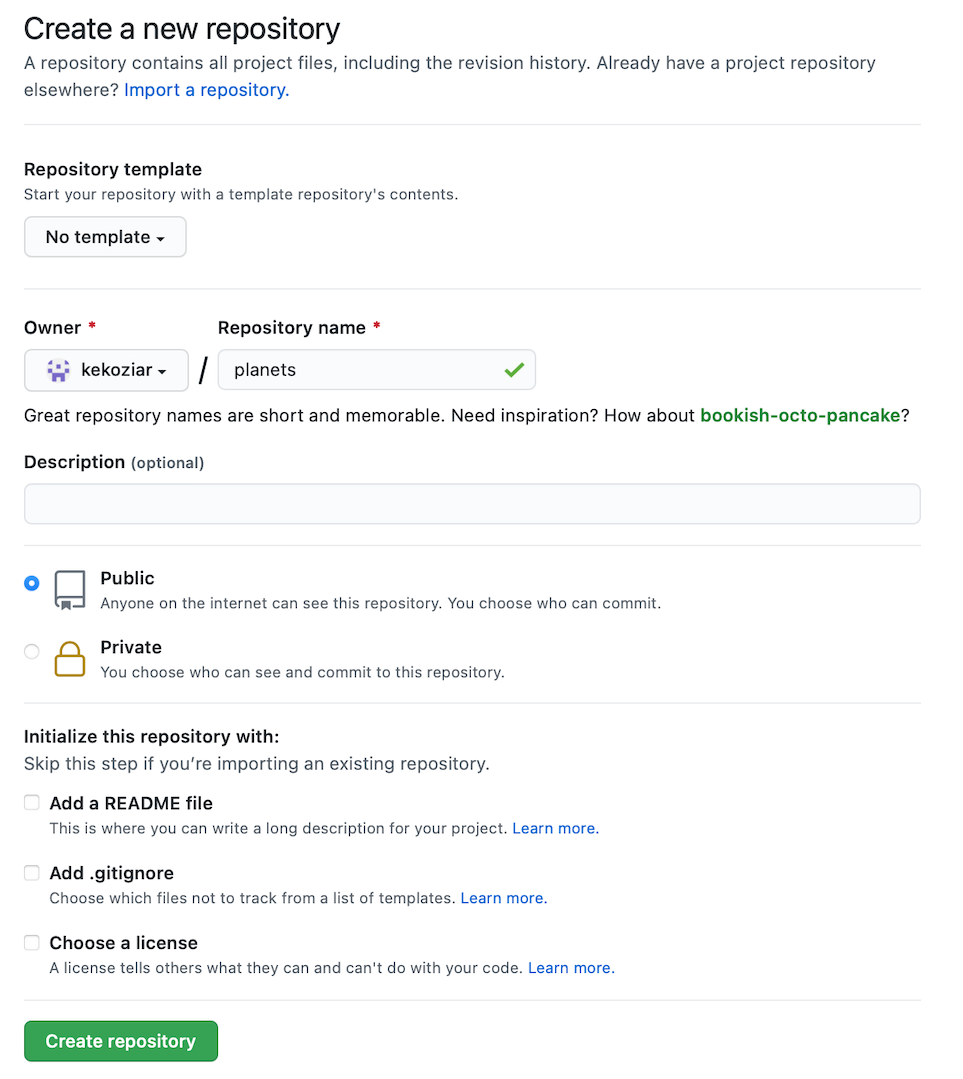
画像1/1: ‘The second step in creating a repository on GitHub: filling out the new repository form to provide the repository name, and specify that neither a readme nor a license should be created’
図の3
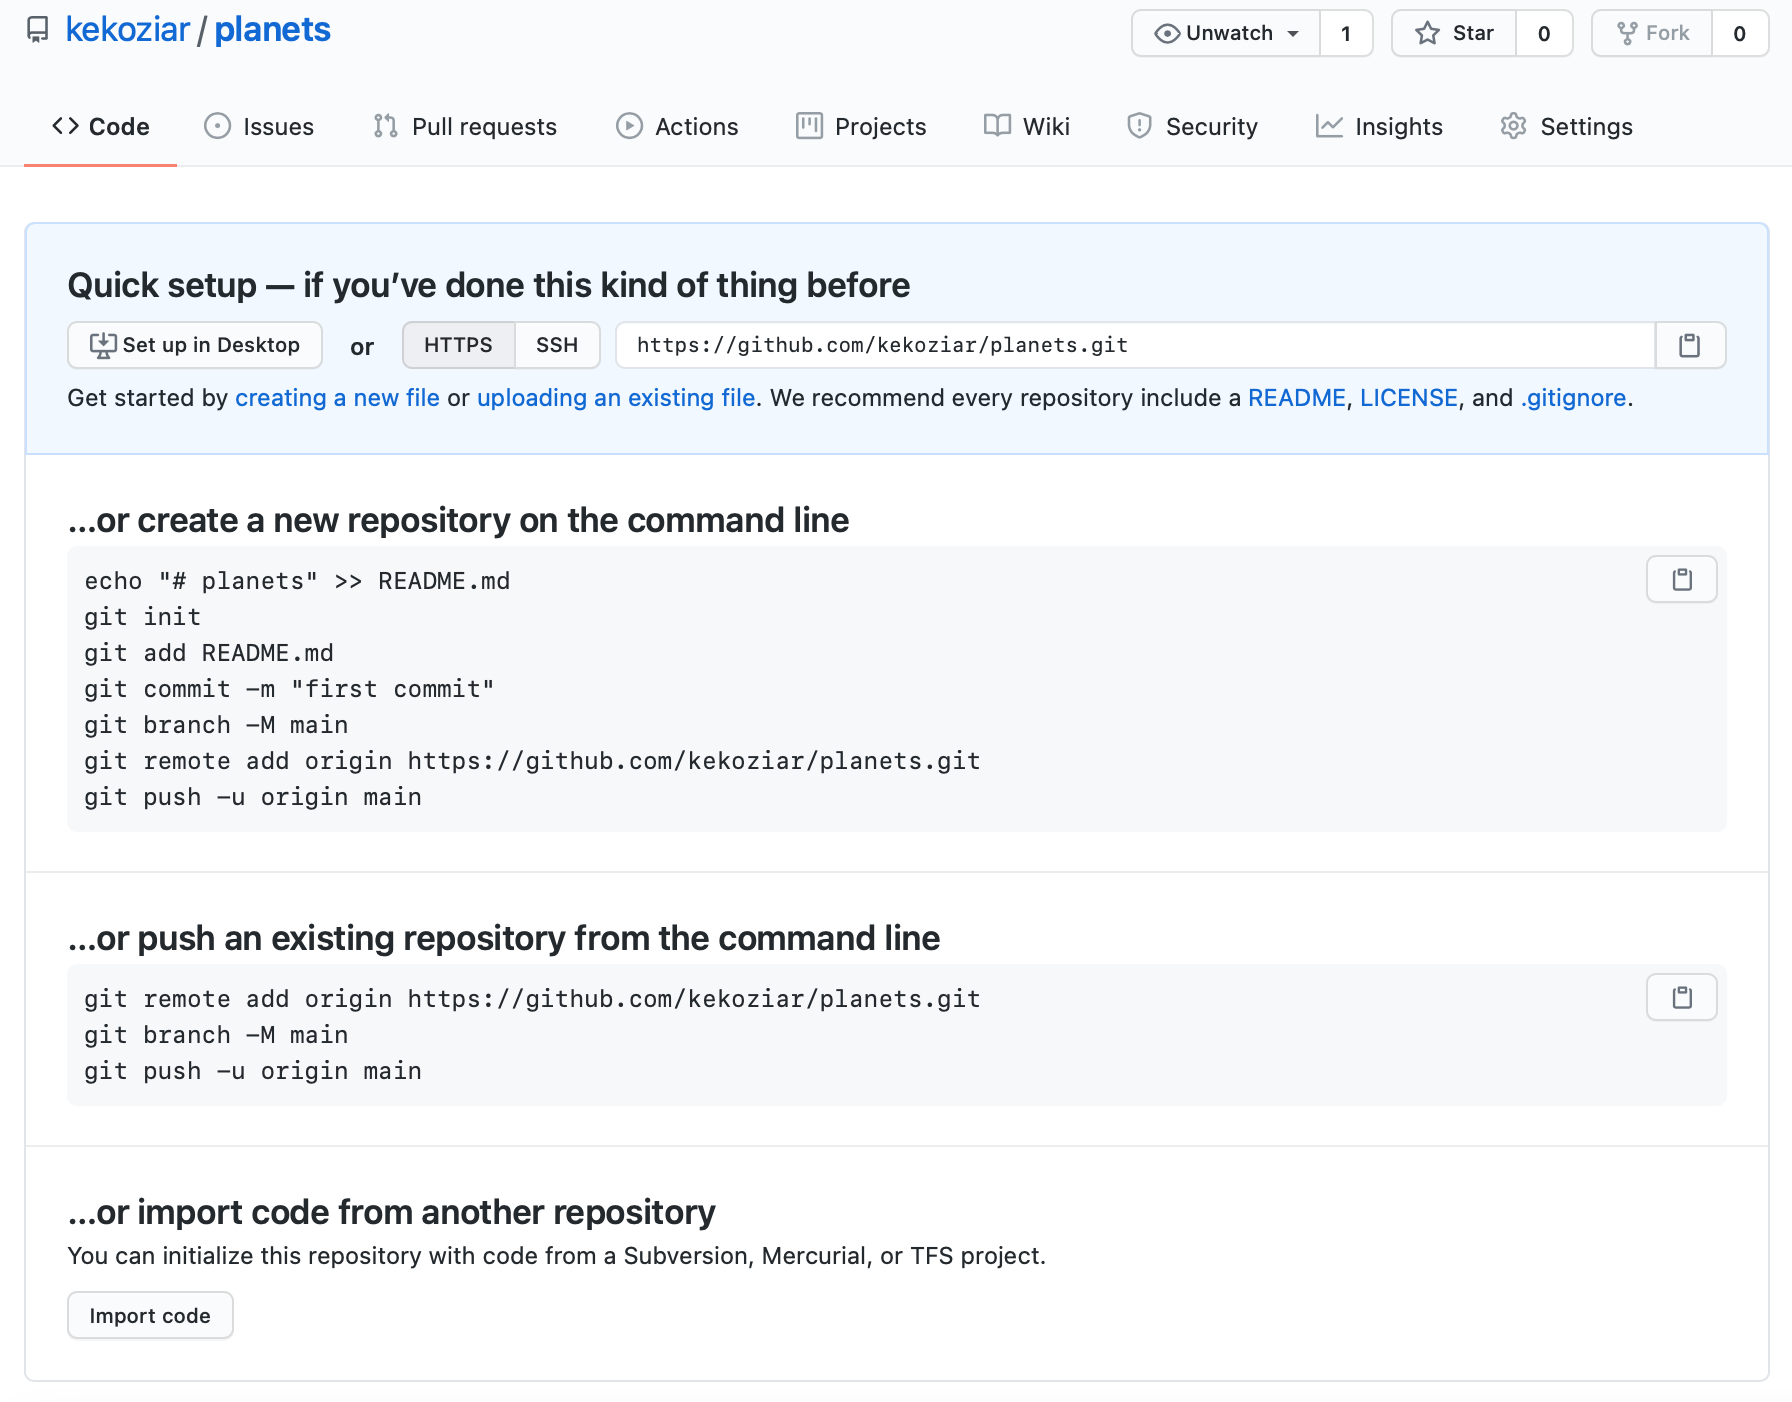
画像1/1: ‘The summary page displayed by GitHub after a new repository has been created. It contains instructions for configuring the new GitHub repository as a git remote’
図の4
画像1/1: ‘A diagram showing how "git add" registers changes in the staging area, while "git commit" moves changes from the staging area to the repository’
図の5
画像1/1: ‘A diagram illustrating how the GitHub "planets" repository is also a git repository like our local repository, but that it is currently empty’
図の6
画像1/1: ‘Clicking the "Copy to Clipboard" button on GitHub to obtain the repository's URL’
図の7
画像1/1: ‘A screenshot showing that clicking on "SSH" will make GitHub provide the SSH URL for a repository instead of the HTTPS URL’
図の8
画像1/1: ‘A diagram showing how "git push origin" will push changes from the local repository to the remote, making the remote repository an exact copy of the local repository.’
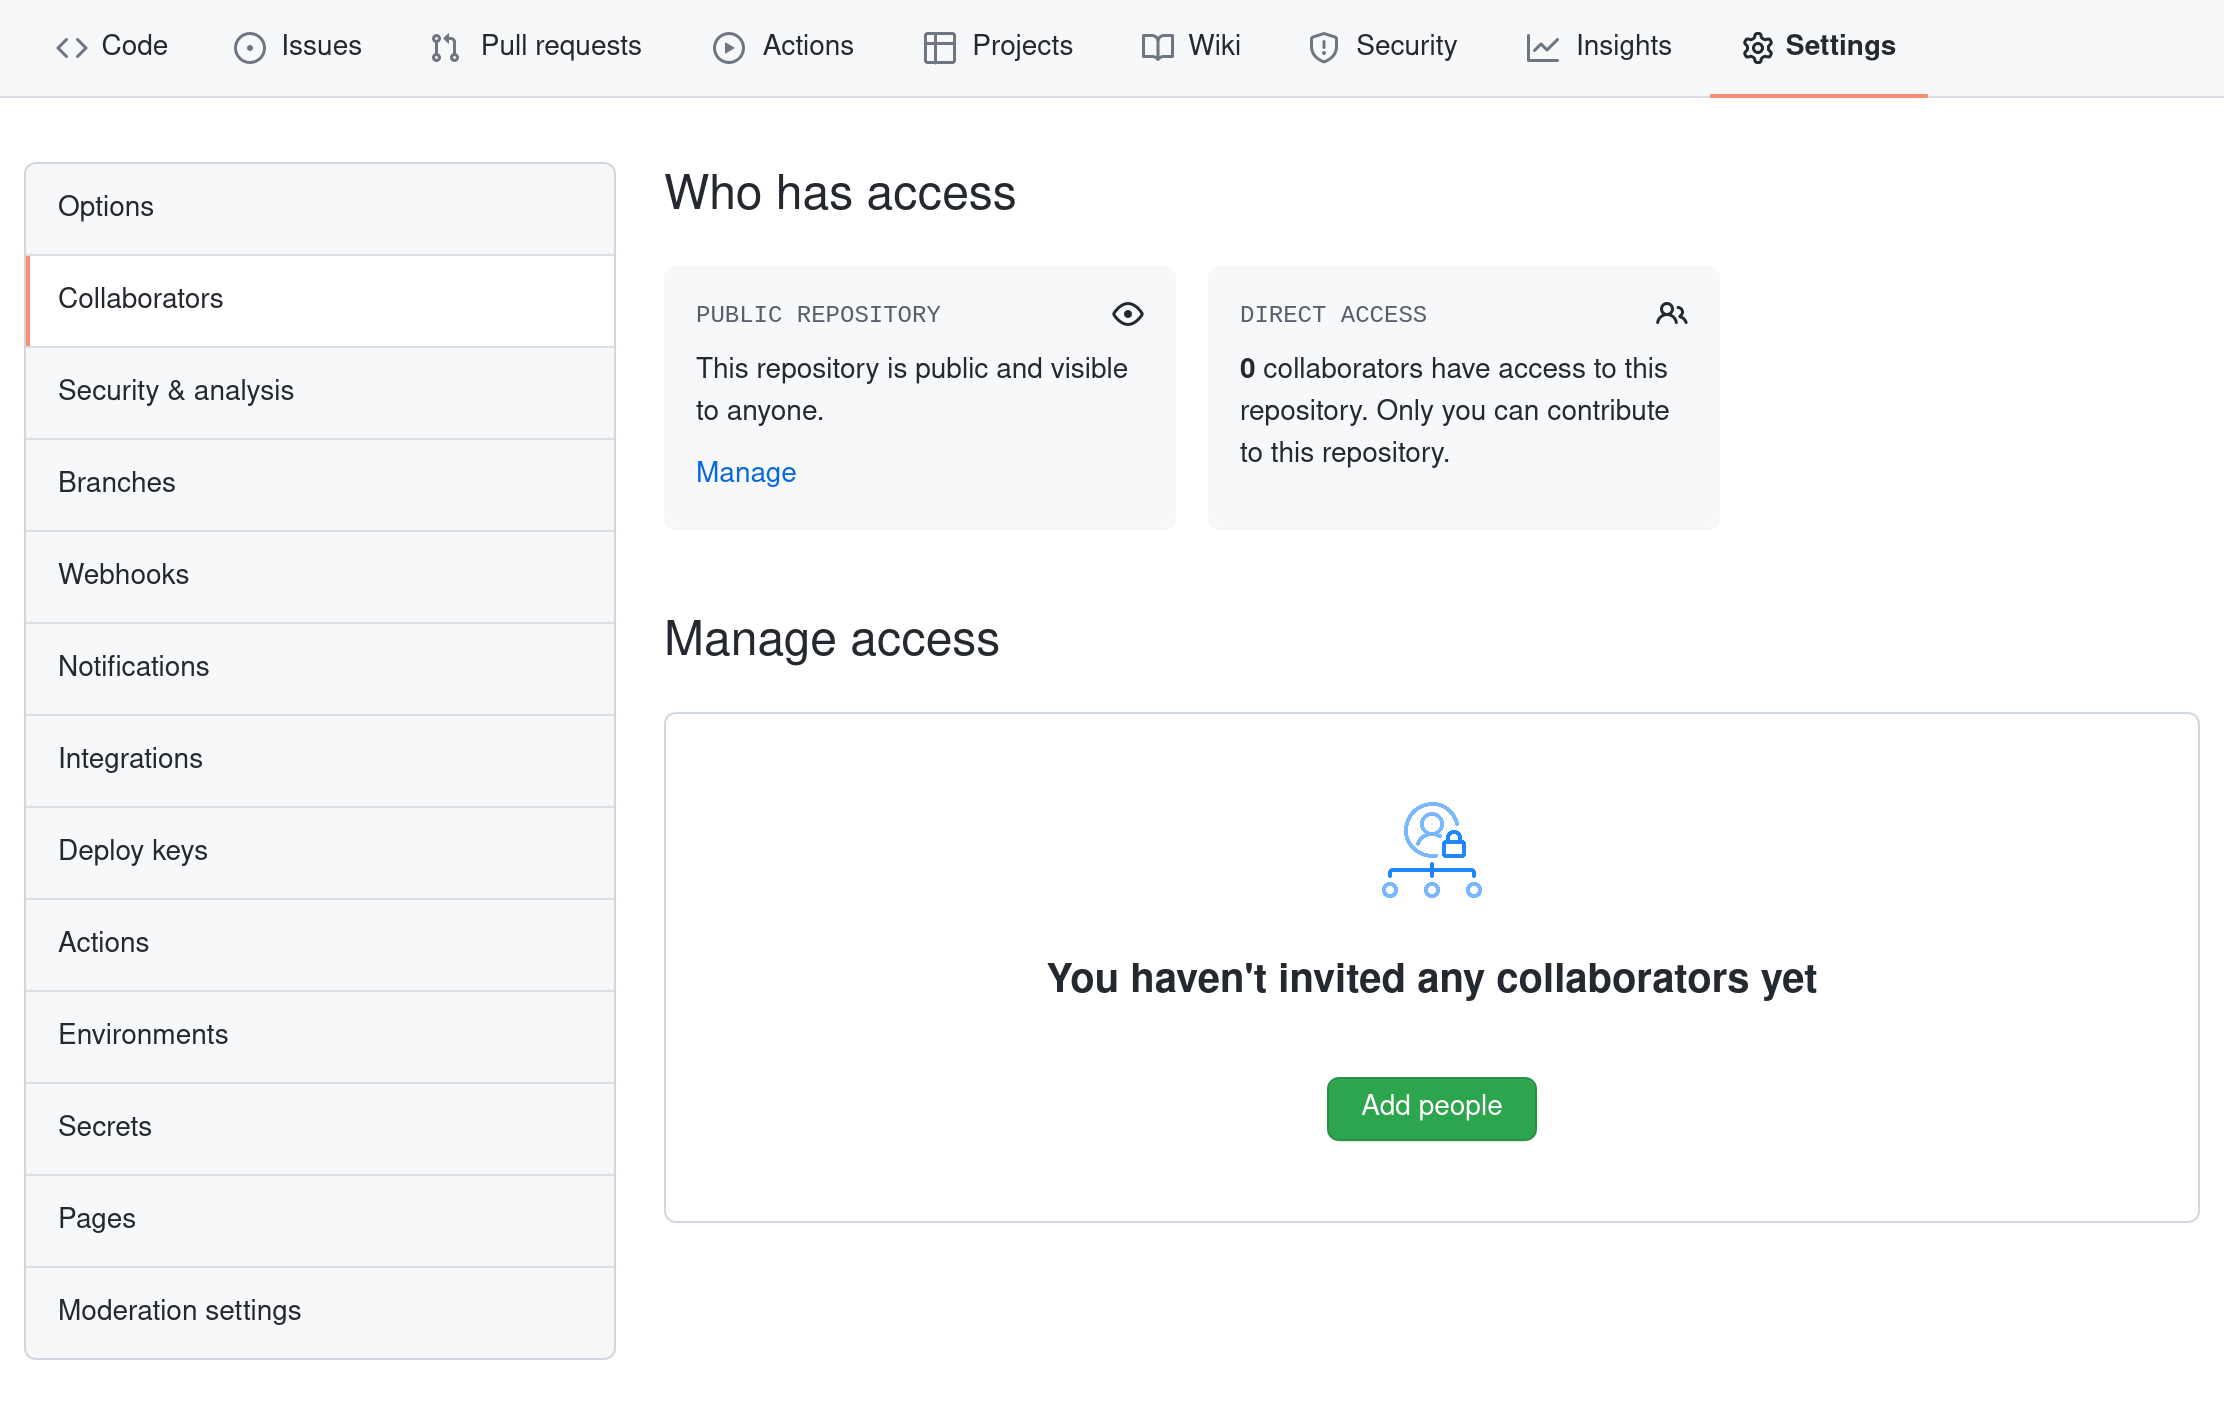
画像1/1: ‘A screenshot of the GitHub Collaborators settings page, which is accessed by clicking "Settings" then "Collaborators"’
図の2
画像1/1: ‘A diagram showing that "git clone" can create a copy of a remote GitHub repository, allowing a second person to create their own local repository that they can make changes to.’
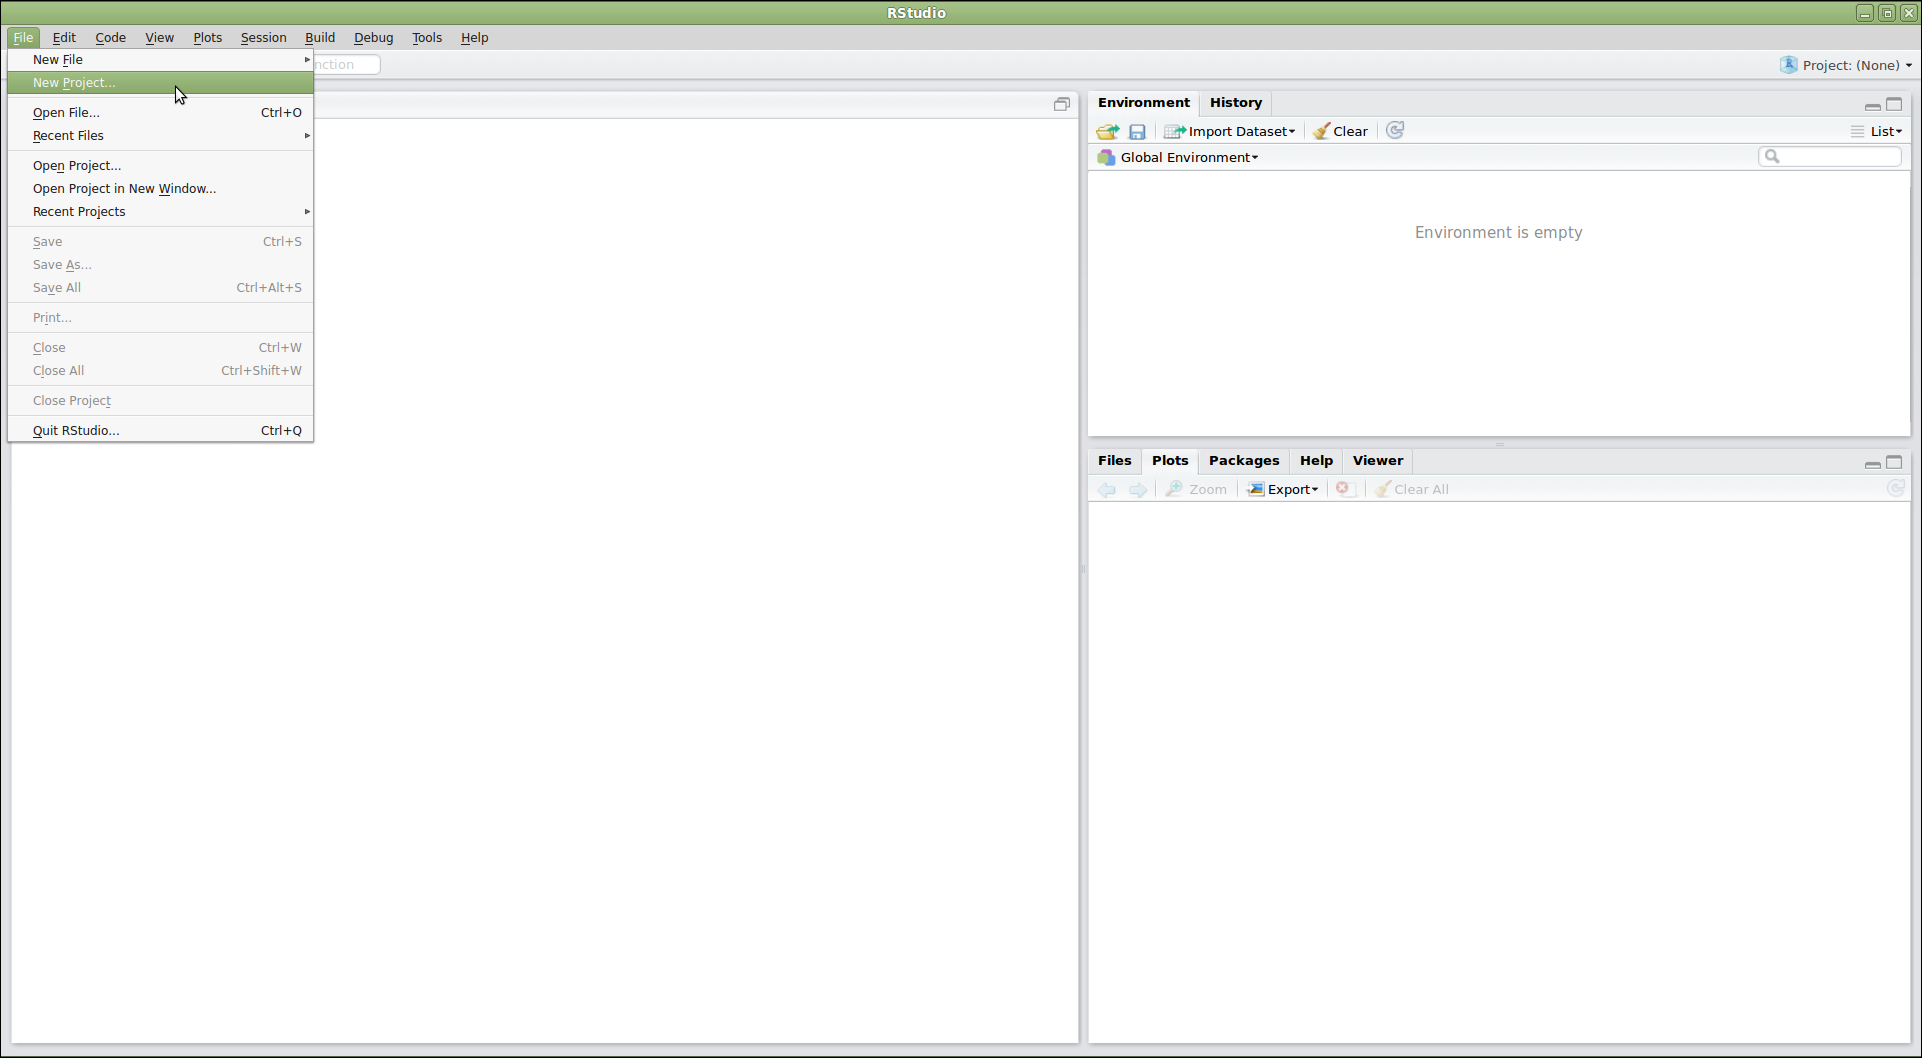
画像1/1: ‘RStudio screenshot showing the file menu dropdown with "New Project..." selected’
図の2
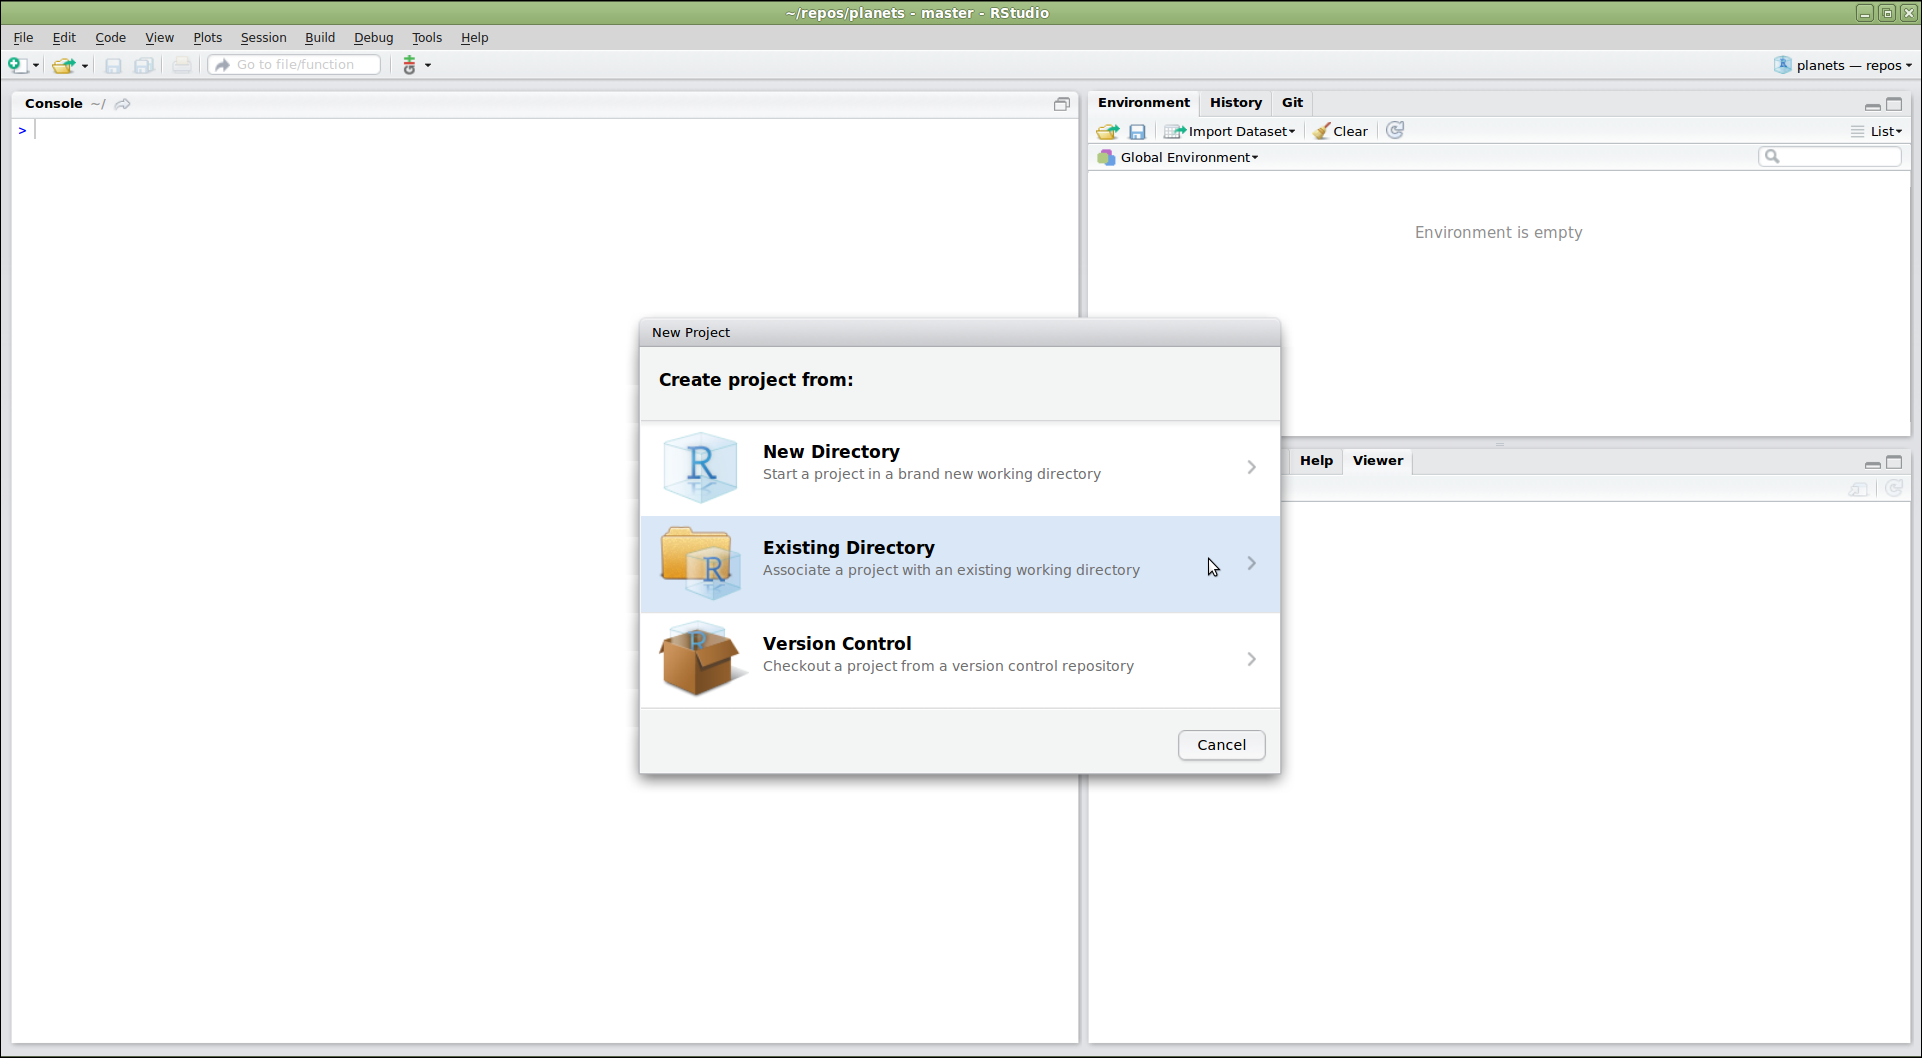
画像1/1: ‘RStudio screenshot showing New Project dialog window with "Create project from existing directory" selected’
図の3
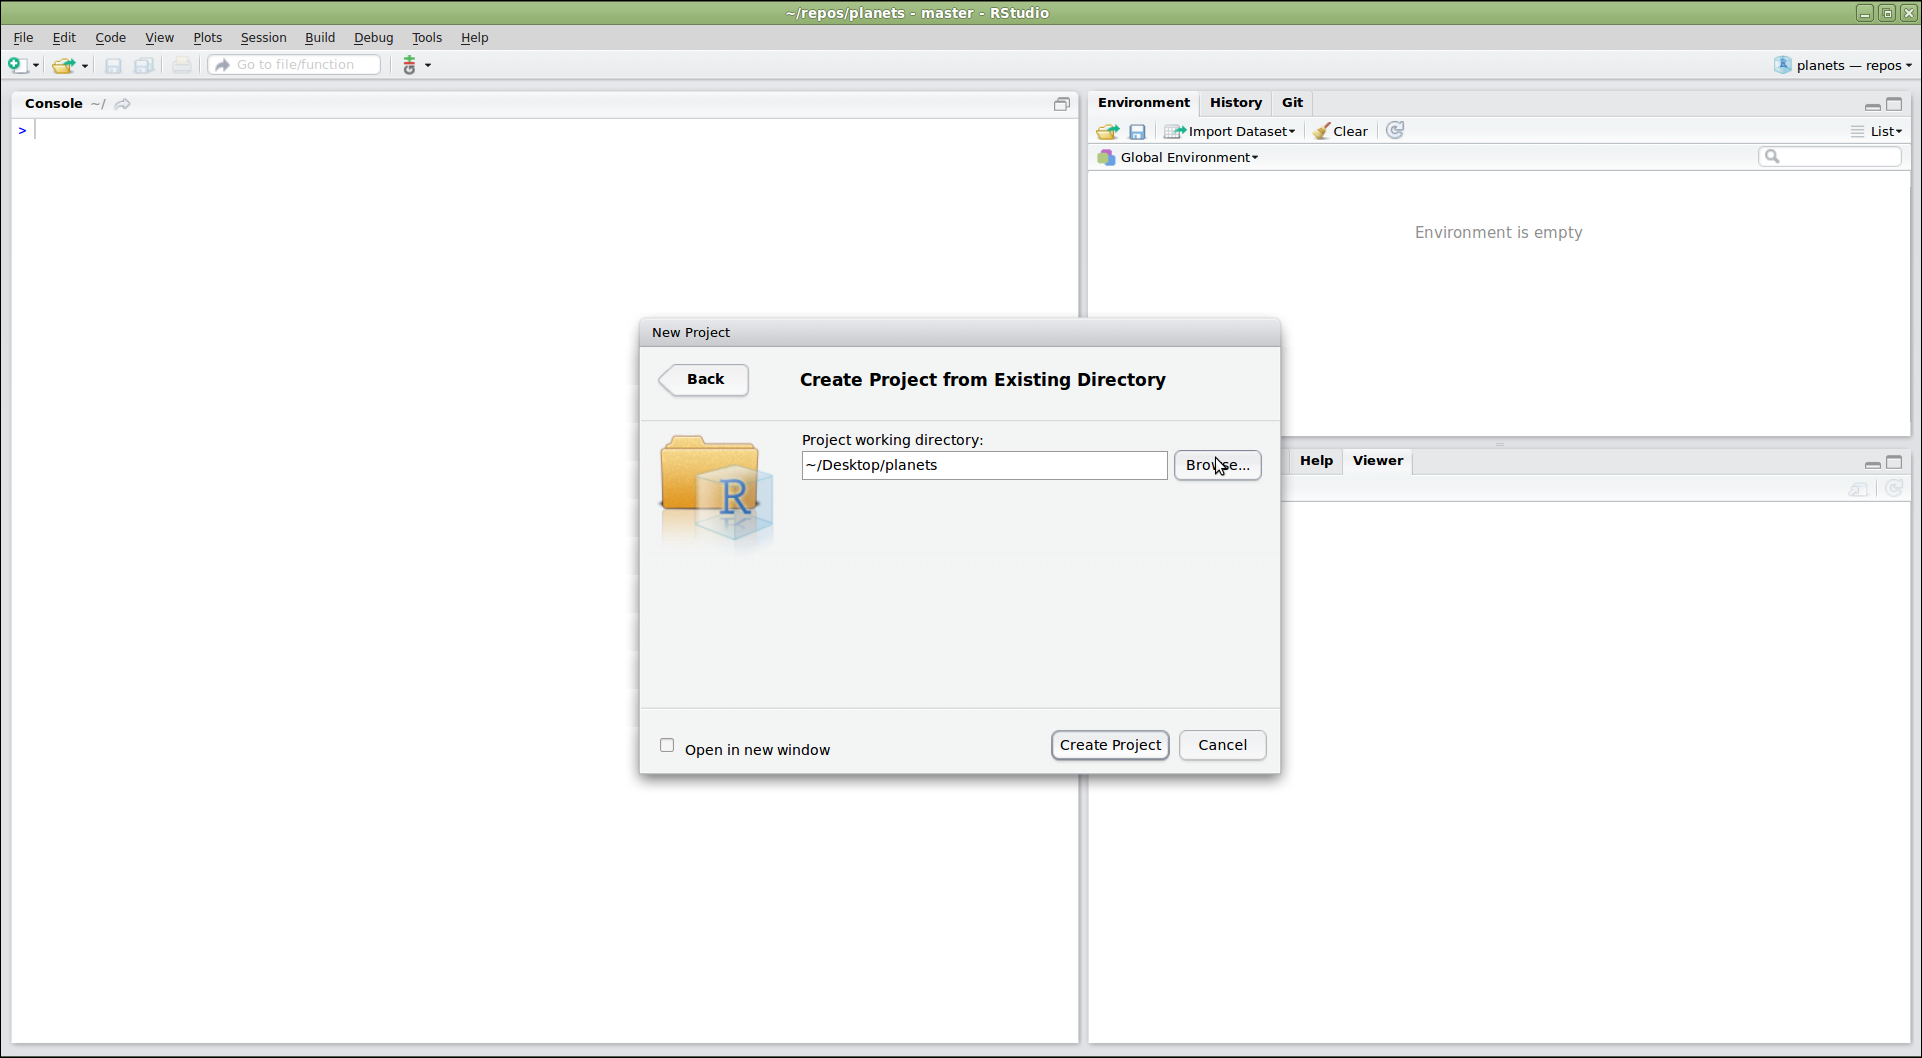
画像1/1: ‘RStudio window showing the "Create Project From Existing Directory" dialog. In the dialog, the project working directory has been set to "~/Desktop/planets"’
図の4
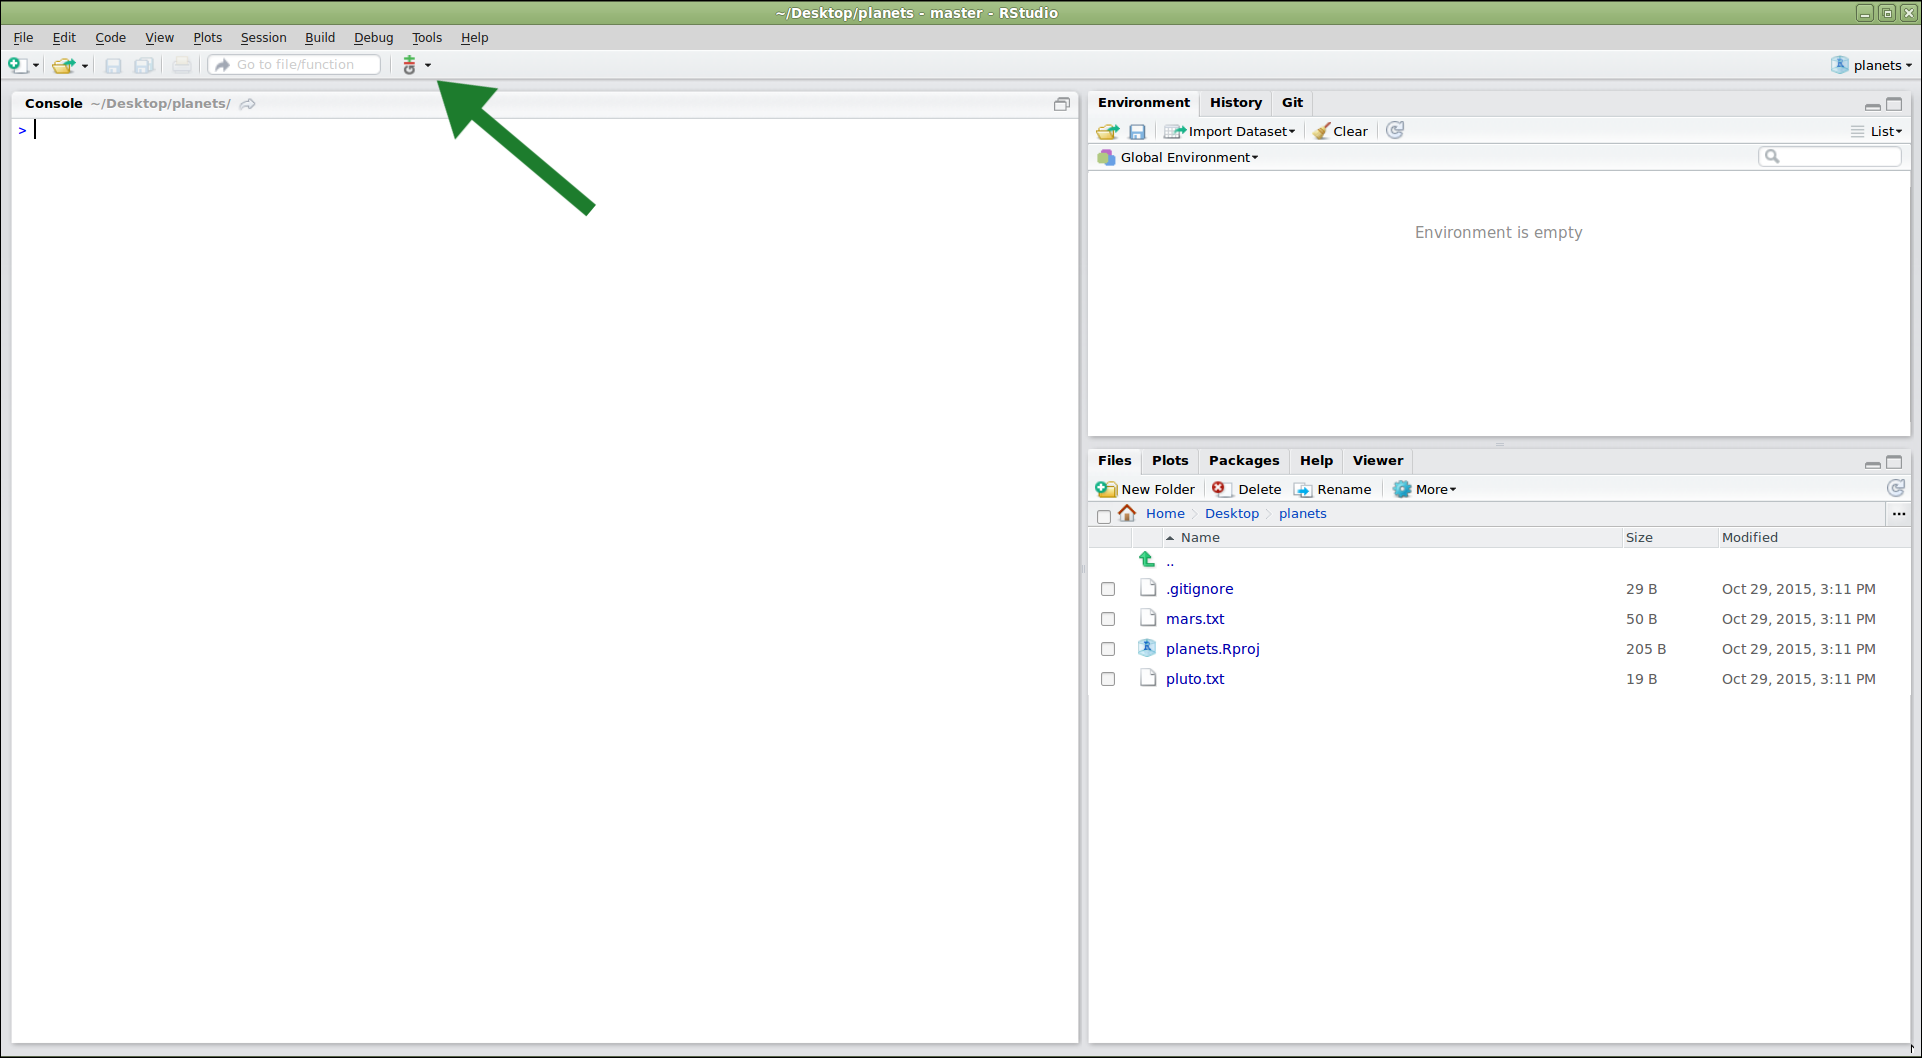
画像1/1: ‘RStudio window after new project is created with large arrow pointing to vertical Git menu bar.’
図の5
画像1/1: ‘RStudio window demonstrating the use of the editor panel to modify the "pluto.txt" file’
図の6
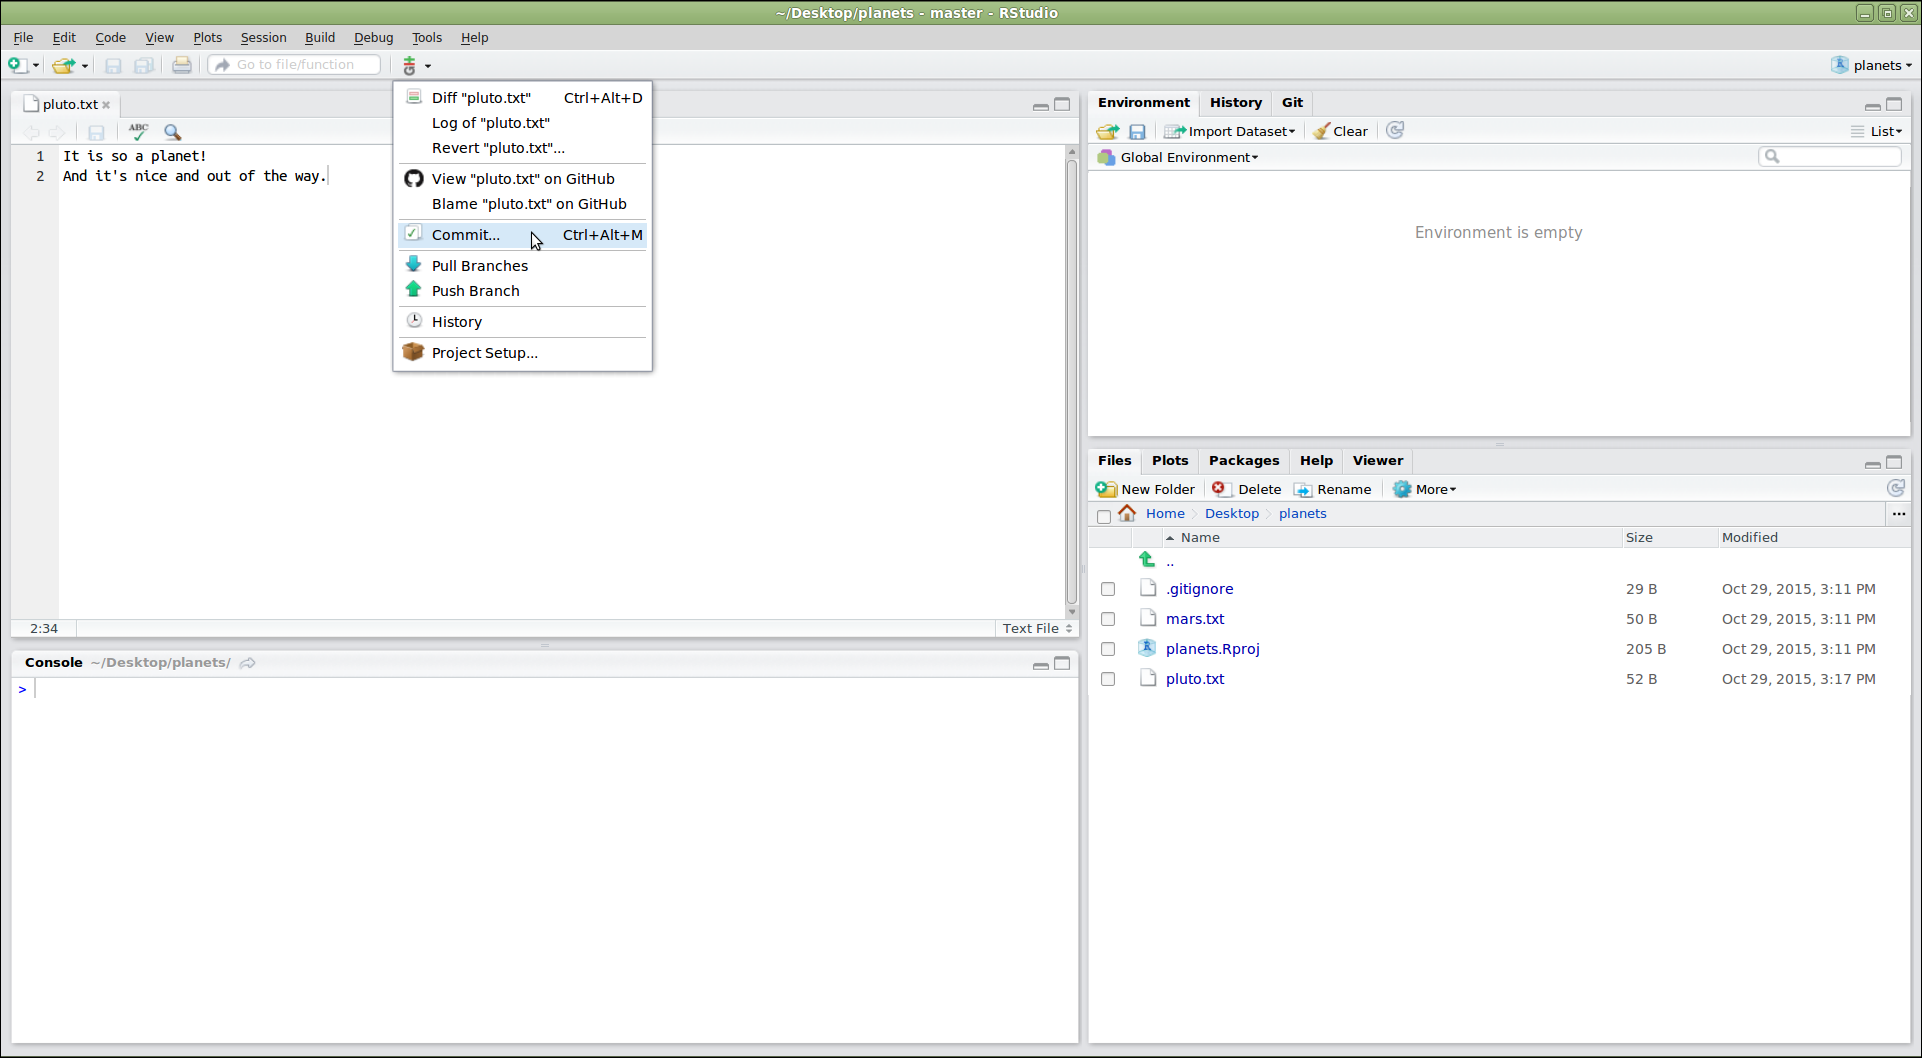
画像1/1: ‘RStudio screenshot showing the Git menu dropdown with the "Commit..." option selected’
図の7
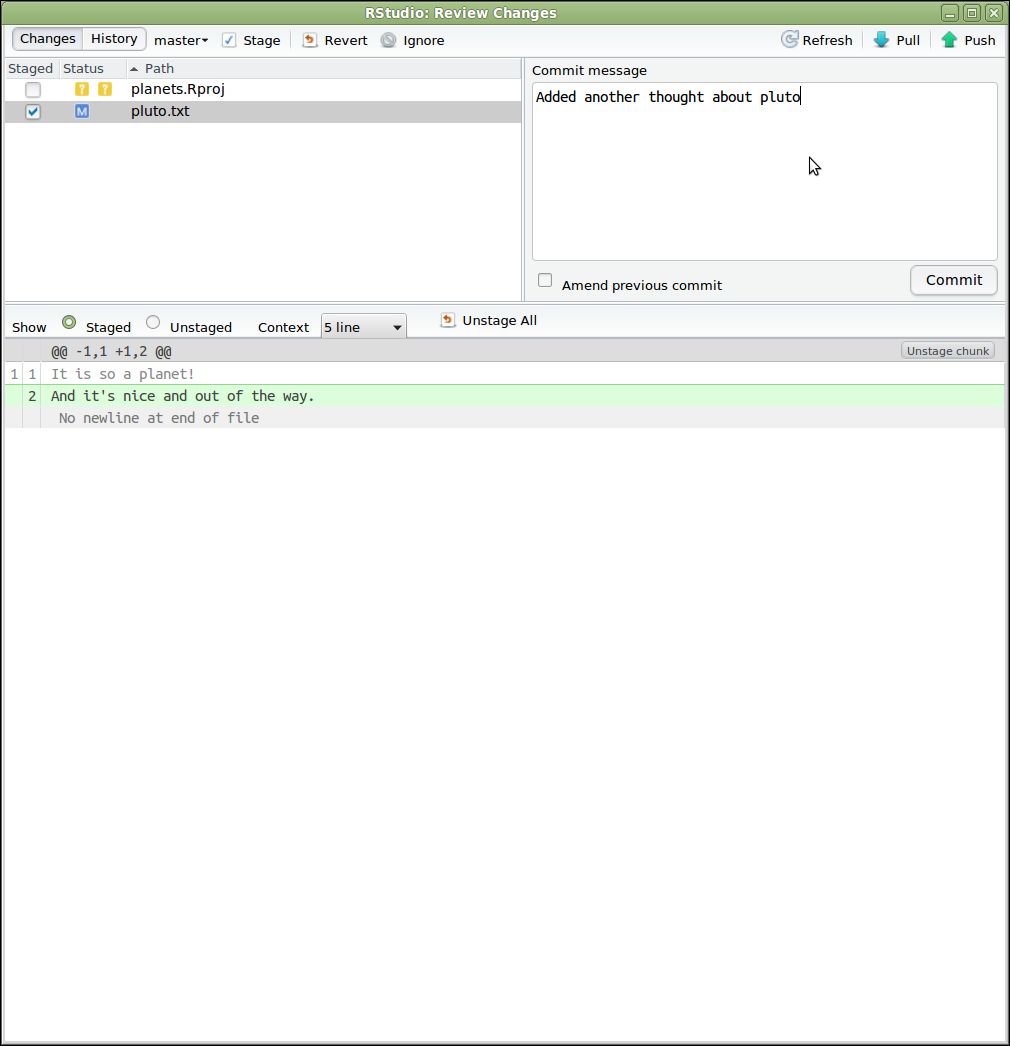
画像1/1: ‘RStudio screenshow showing the "Review Changes" dialog. The top left panel shows the list of files that can be included or excluded from the commit. The top right panel is for writing a commit message. The bottom panel shows information about the currently selected file in the top left panel.’
図の8
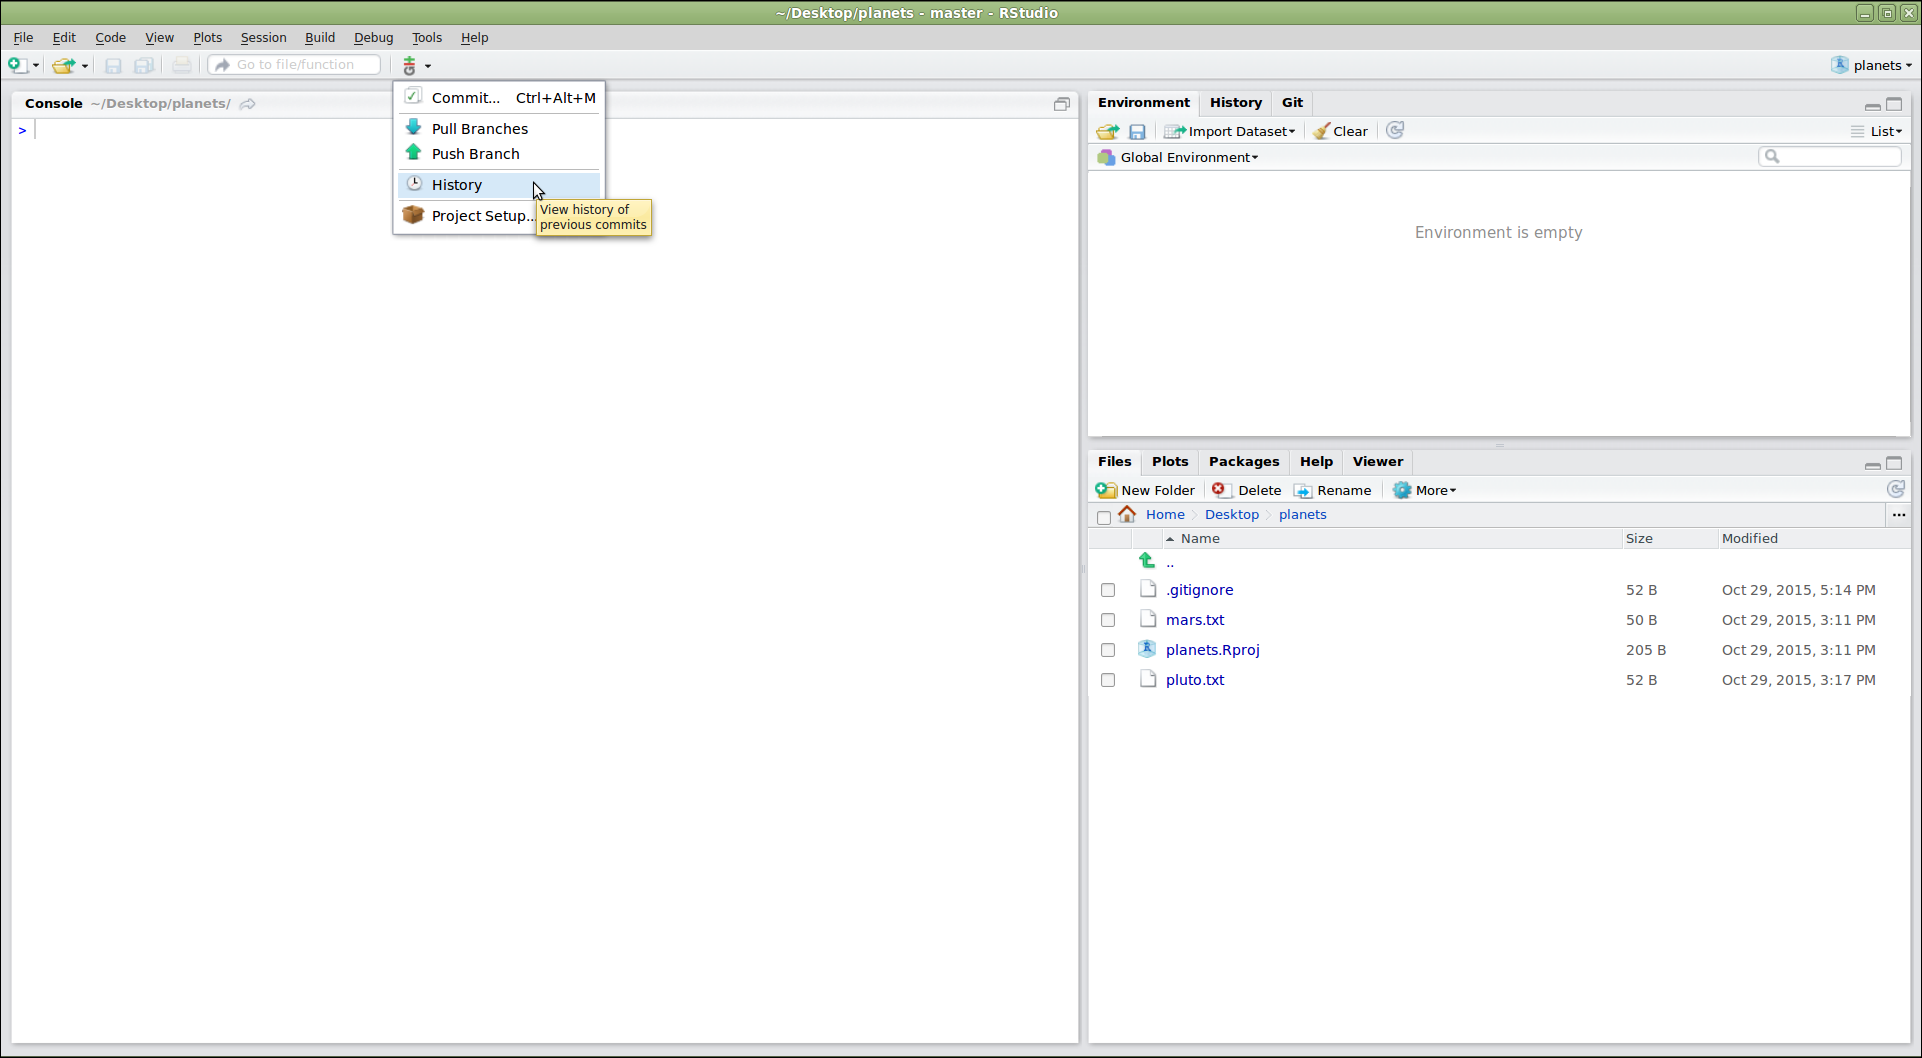
画像1/1: ‘RStudio screenshot showing the git menu dropdown with the "History" option selected’
図の9
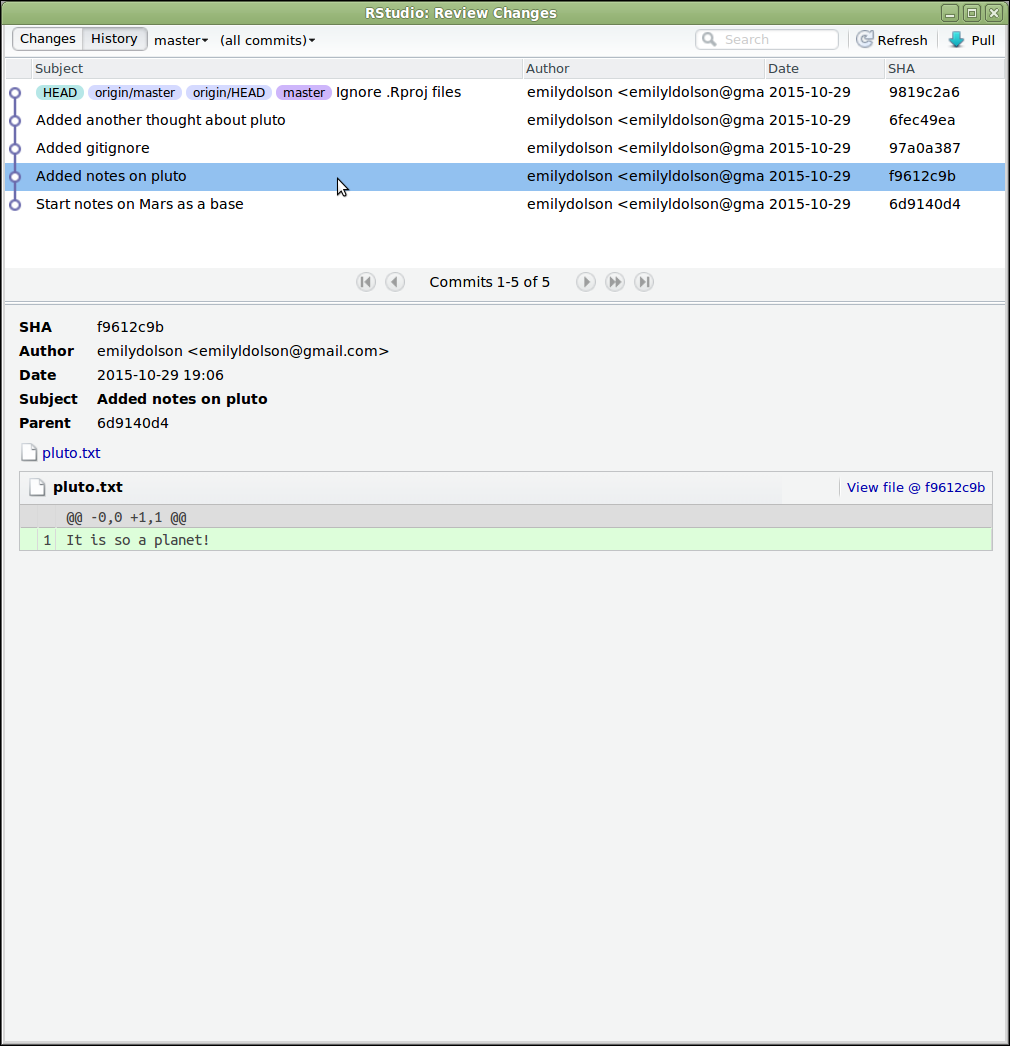
画像1/1: ‘RStudio screenshot showing the "Review Changes" dialog after pressing the "History" button. The top panel lists the commits in the repository, similar to git log. The bottom panel shows the changes included in the commit that has been selected in the top panel.’
図の10
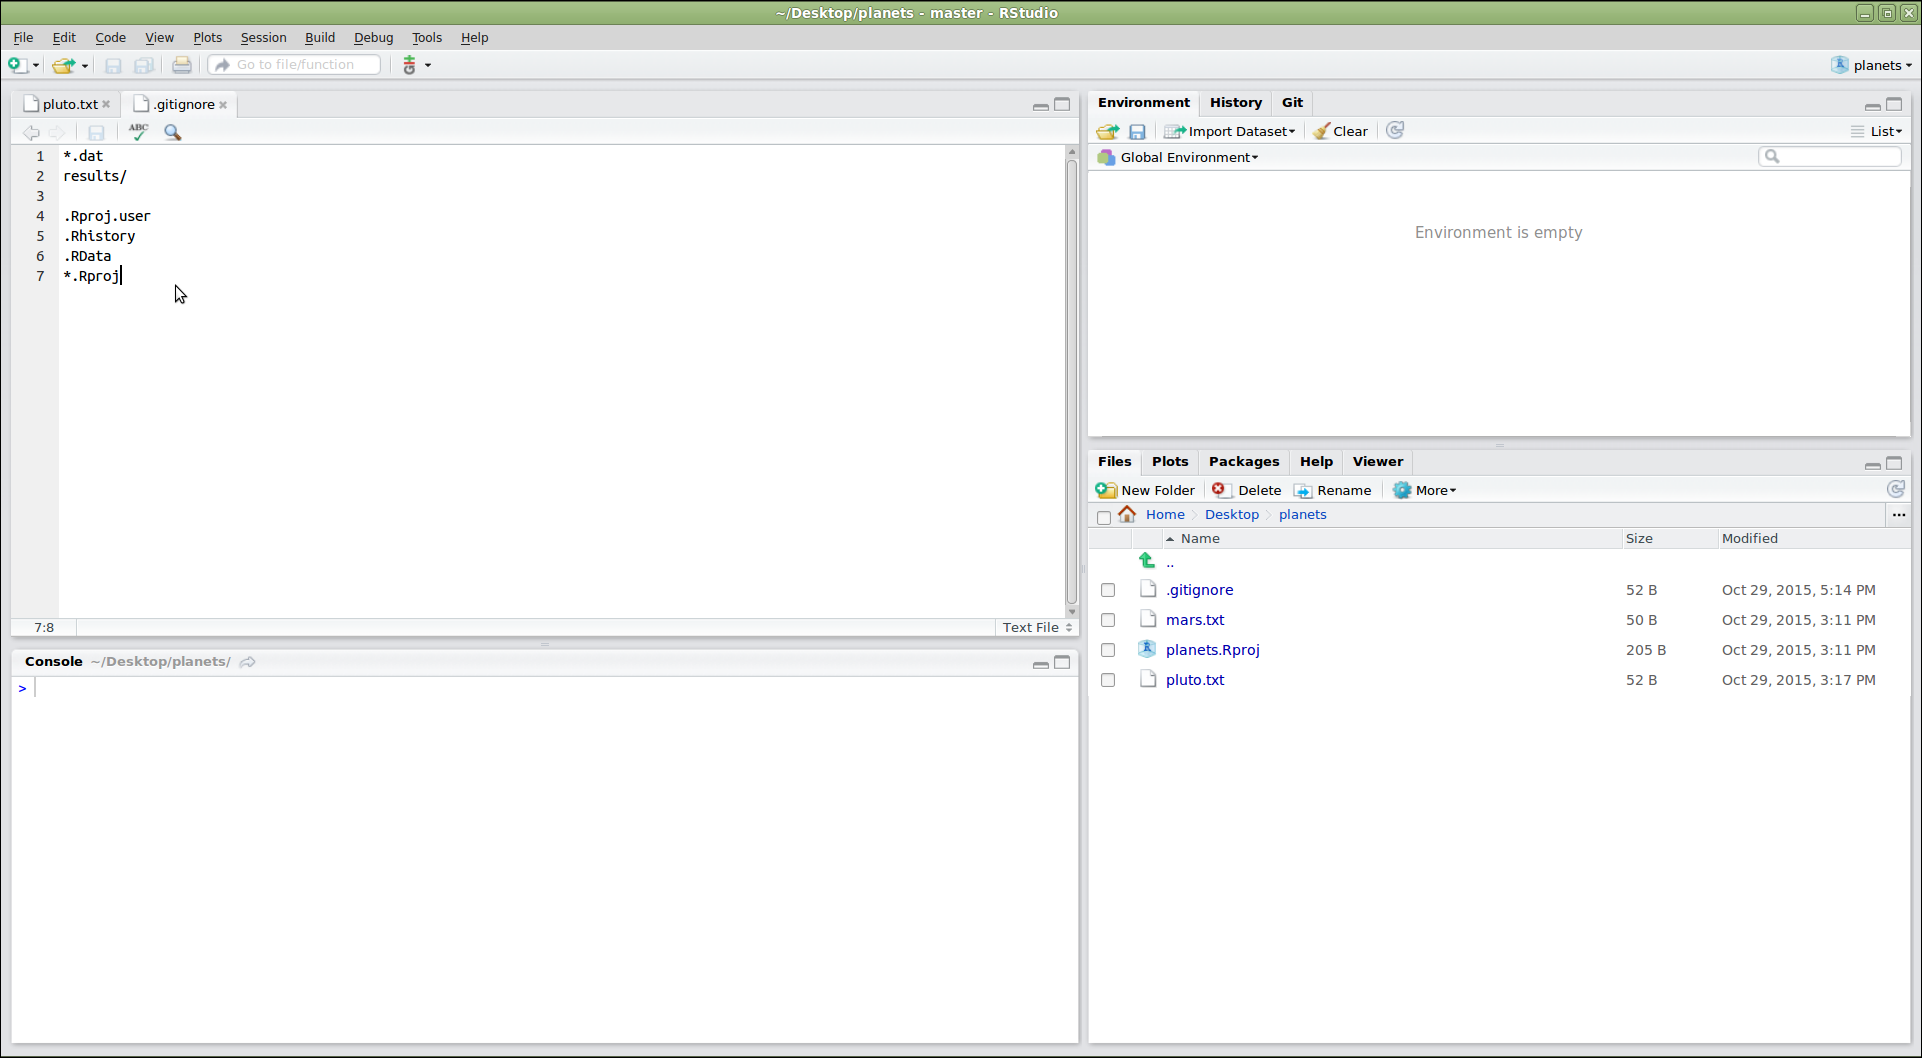
画像1/1: ‘RStudio screenshot showing .gitignore open in the editor pane with the files .Rproj.user, .Rhistory, .RData, and *.Rproj added to the end’


 Werewolf
vs dracula by b-maze
/ Deviant Art. 火星
by European Space Agency / CC-BY-SA 3.0
IGO. 冥王星
/ Courtesy NASA/JPL-Caltech. ミイラ
© Gilad Fried / The Noun
Project / CC BY
3.0. 月 © Luc
Viatour / https://lucnix.be / CC BY-SA
3.0.
Werewolf
vs dracula by b-maze
/ Deviant Art. 火星
by European Space Agency / CC-BY-SA 3.0
IGO. 冥王星
/ Courtesy NASA/JPL-Caltech. ミイラ
© Gilad Fried / The Noun
Project / CC BY
3.0. 月 © Luc
Viatour / https://lucnix.be / CC BY-SA
3.0.